This guide will teach you to make drip coffee with ease. You’ll get a simple, step-by-step guide on choosing equipment, beans, grind, water, and the right ratios.
It’s all about making delicious homemade drip coffee, whether you use a basic machine or a cone-style brewer.
Drip coffee is a favorite in the U.S. because it’s easy to make in large quantities.
This article will show you how to balance quick prep with the importance of fresh coffee.
You’ll learn how to adjust your brewing method to fit your morning routine.
Expect easy-to-follow steps and a detailed guide with ratios in grams and tablespoons.
The instructions work for both beginners and those using manual cone methods like the Hario V60 or Chemex.
Follow along, and you’ll get clear, practical tips to use right away.
Key Takeaways
- You will get a clear drip coffee tutorial for both auto-drip and cone brewers.
- The guide covers equipment, beans, grind, water, and measured ratios.
- Balance convenience and freshness: prep ahead or grind just before brewing.
- Ratios are shown in grams and tablespoons for predictable results.
- This approach helps you make better homemade drip coffee every morning.
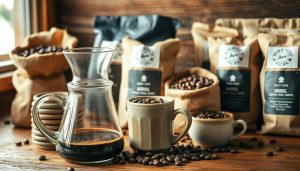
why choose drip coffee: benefits and context
Drip brewing is a staple in many American kitchens. It offers steady flavor, easy use, and can brew several cups at once.
Wondering why drip coffee is a daily favorite? It’s all about saving time, ensuring consistency, and making a lot of coffee.
Popularity and history in the United States
The love for drip coffee in the U.S. grew with new inventions. Melitta Bentz introduced the paper filter in 1908, starting a new era in filter brewing.
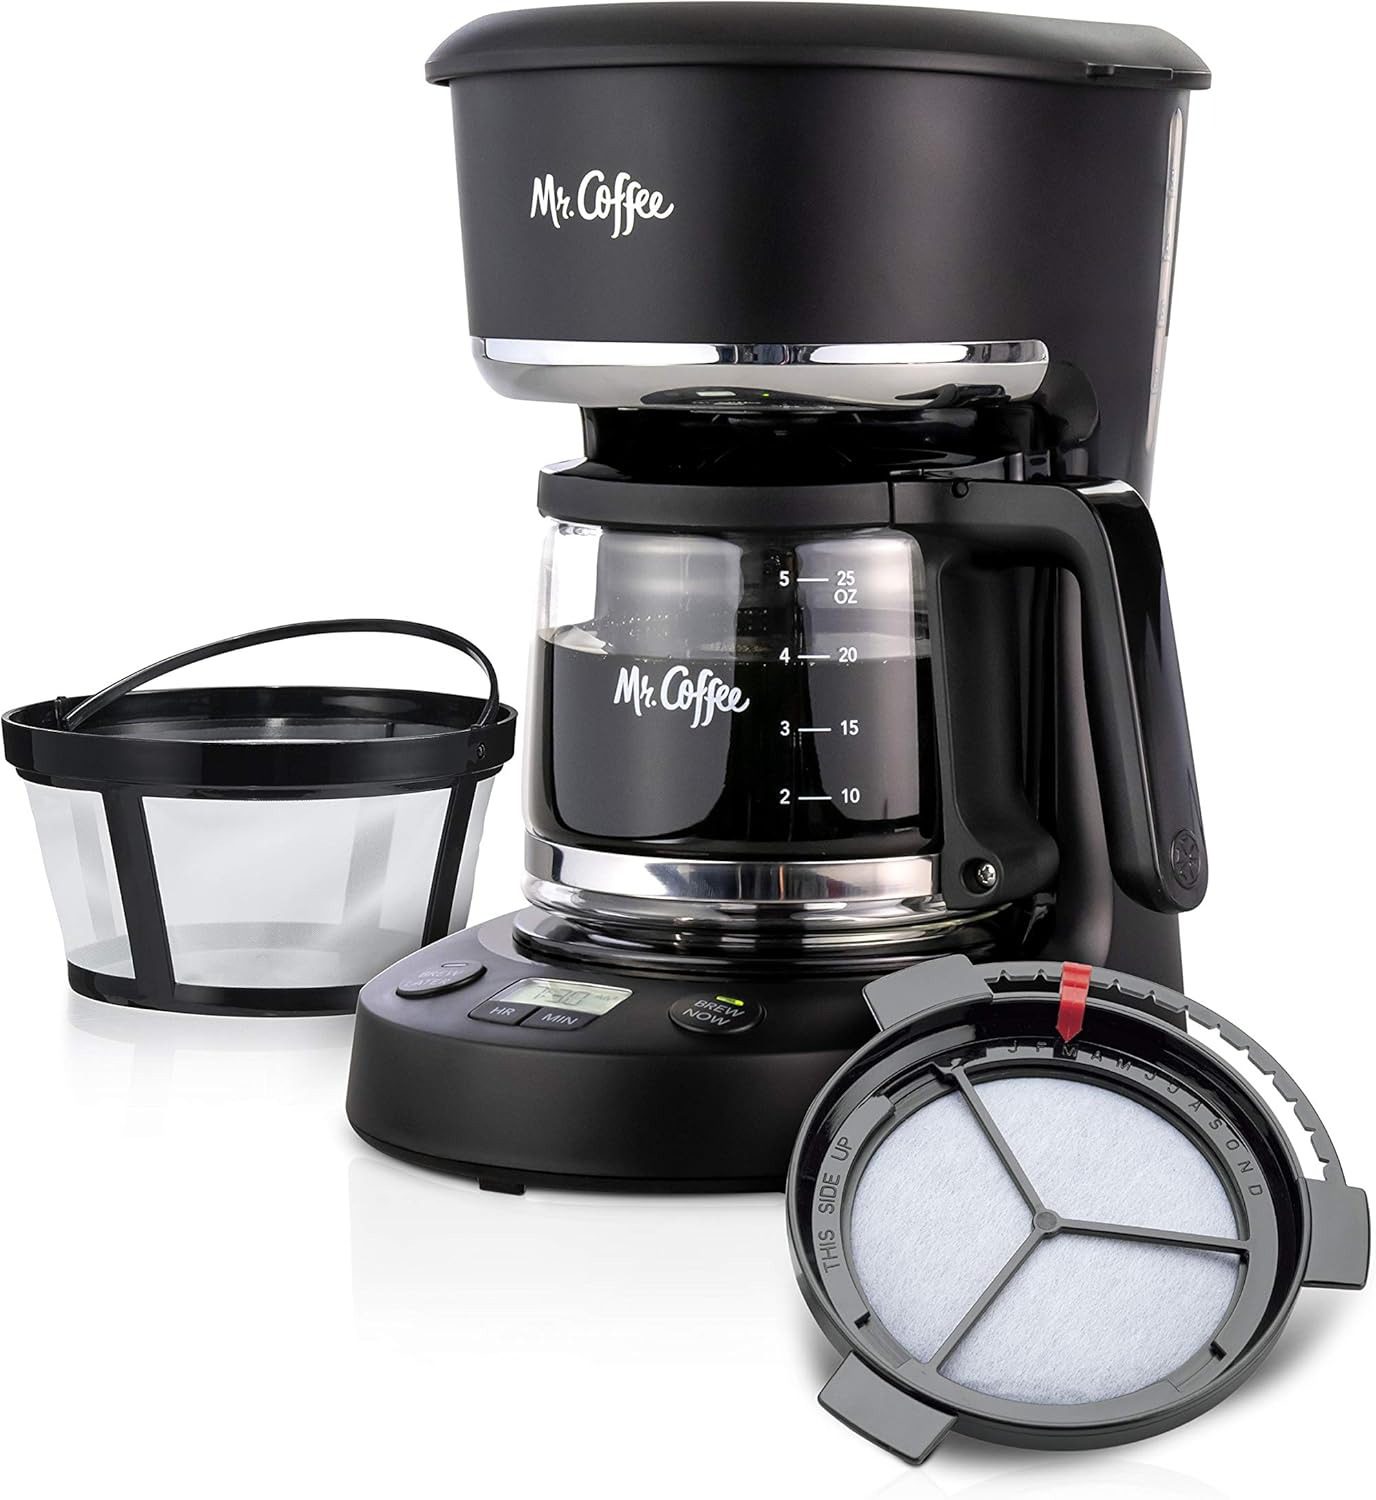
Later, brands like Mr. Coffee and Braun made drip brewing automatic, making it a household name.
The rise of drip coffee is linked to changing lifestyles. People sought a reliable morning coffee that was easy to make.
This need turned drip coffee into a cultural icon in diners, offices, and homes.
Advantages: convenience, volume, and consistency
Drip brewing is incredibly convenient. An auto-drip machine can brew 10–12 cups while you get ready.
Just set it, leave, and come back to freshly brewed coffee.
For serving guests or filling a thermos, drip brewing is perfect. It scales well.
You just measure the grounds, add water, and the machine does the rest. This makes drip coffee the go-to for everyday use.
When to prefer drip coffee over other methods (pour over, French press, AeroPress)
Opt for drip when you want a hassle-free brewing experience and consistent results for many cups. For a more nuanced coffee, pour over methods like Hario V60 or Chemex are better.
They require more time but offer clearer flavors.
French press is great for a richer, more oily coffee. An AeroPress is ideal for a strong espresso or a travel-friendly option.
When choosing, consider practical aspects. Some drip machines might not heat water perfectly, affecting the coffee’s taste.
But, for many, the convenience, speed, and ability to make lots of coffee make drip brewing a top choice.
drip coffee equipment recommendations and setup
Choosing the right gear makes brewing easier and lifts flavor. This guide will help you pick the best brewer, accessories, and models.
You’ll set up a reliable routine at home.
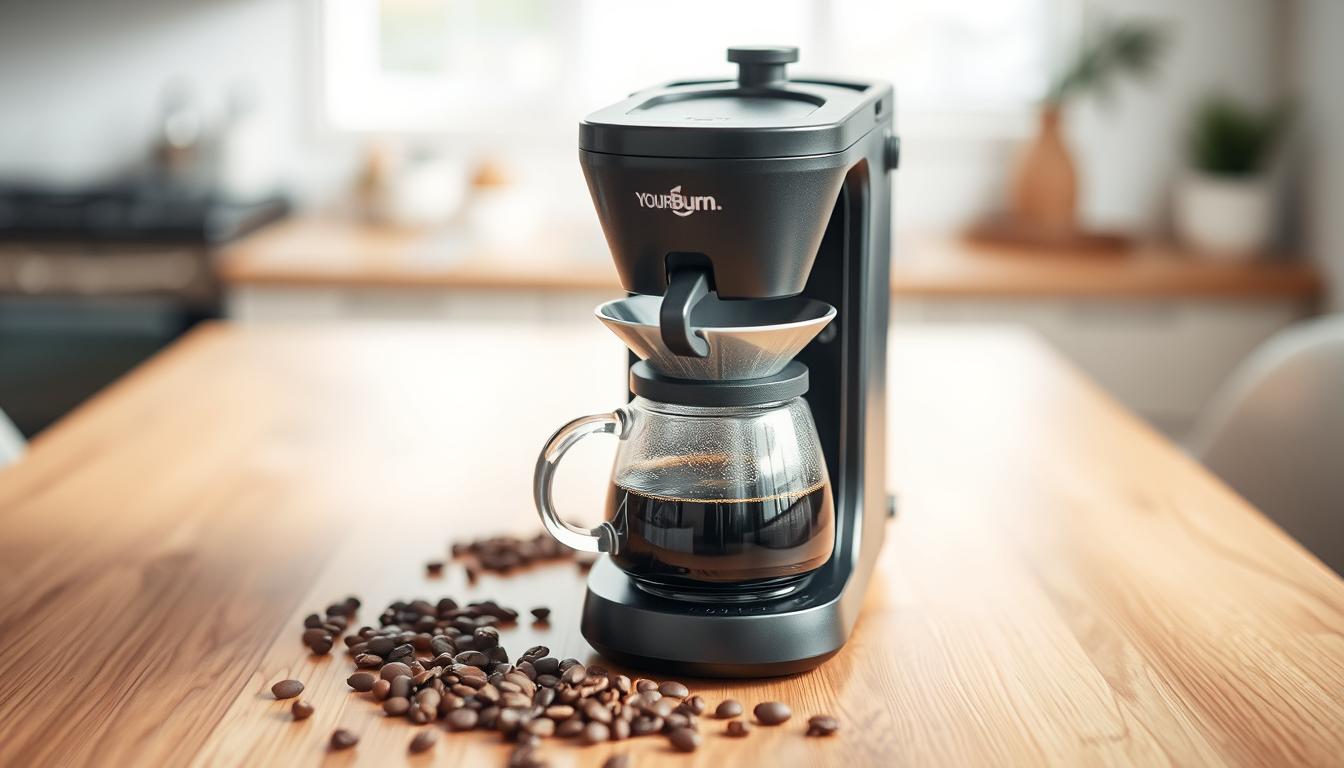
Types of brewers: basic auto-drip vs advanced models
Basic auto-drip machines, like many Mr. Coffee units, are affordable and simple to use.
They serve large batches and fit busy mornings. But, some low-cost machines may have uneven water temperature, which can make coffee taste flat.
Advanced models aim for more precise extraction.
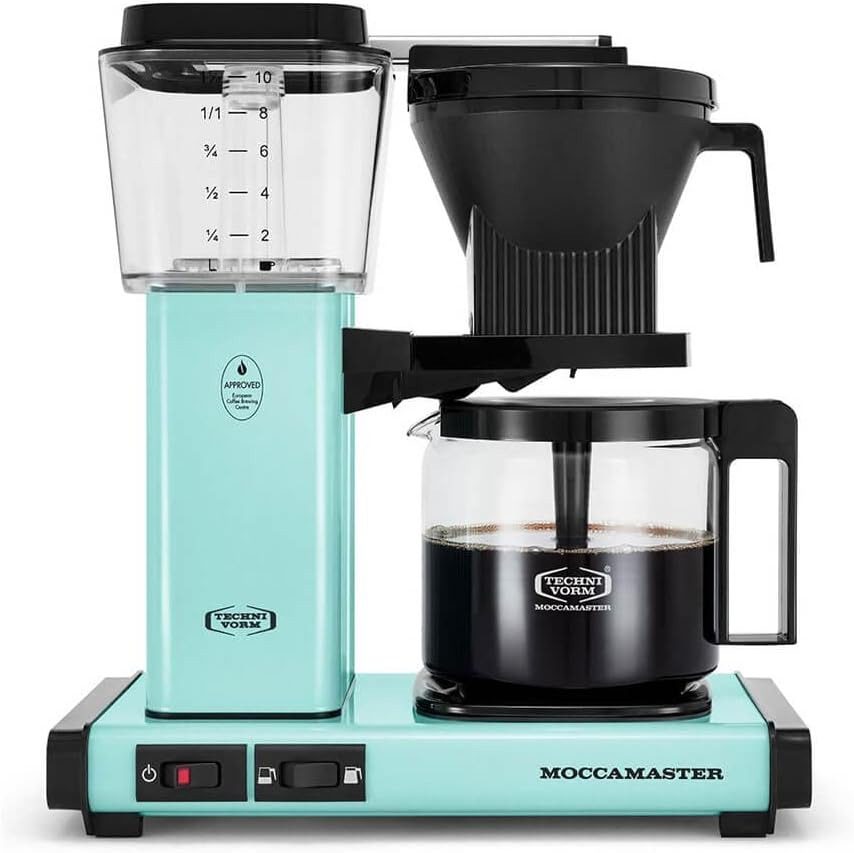
The Moccamaster uses robust heating and a well-designed showerhead to hit pour-over temperatures.
Programmable machines from Cuisinart and Bonavita add timers and auto-start features so your brew is ready when you are.
Essential accessories for consistent results
Filters matter. Paper filters remove oils and can add a papery note if not rinsed.
Reusable metal filters let more oils through and give fuller body. Match cone or flat-bottom sizes to your brewer to avoid channeling and uneven flow.
Carafes change how coffee holds heat. Glass carafes need prewarming and pour quickly.
Insulated carafes keep coffee drinkable longer, which helps when you brew a pot for the day.
A gooseneck kettle brings control for manual cone drip and gentle pouring. A small kitchen scale, like an Escali model, keeps your coffee-to-water ratio consistent.
A simple timer helps when you need to track brew time for manual or semi-manual setups.
Best brands and models to consider for home use
When picking the best drip coffee maker, weigh price against performance. Moccamaster sits at the top for flavor and build quality.
Expect to pay more, but notice a clear extraction advantage over cheap brewers.
Reliable, budget-friendly options include Mr. Coffee, Cuisinart, and Bonavita. For manual brewing, Hario V60 and Chemex remain strong choices for clarity and control.
These top drip coffee brands cover a range of budgets and brewing styles so you can choose what fits your routine.
Follow clear drip coffee maker instructions that come with your machine. Clean parts regularly and match filters and grind size to your brewer.
Small steps at setup lead to steady, repeatable results every morning.
choosing coffee beans and storage for the best drip coffee
Choosing coffee beans is key to a great cup of coffee. Small details like origin, roast, and grind timing make a big difference.
Opt for fresh beans from local roasters like Stumptown, Counter Culture, or Blue Bottle.
Buy in small amounts to keep the beans fresh.
Whole bean vs pre-ground: flavor and freshness considerations
Whole beans offer a richer taste compared to pre-ground coffee. They keep volatile aromatics and oils that enhance the flavor.
Grind the beans just before brewing for the best taste.
Pre-ground coffee is convenient but loses its aroma faster. It’s best to use it quickly to avoid a stale taste.
If you choose pre-ground, store it in an airtight container to keep it fresh.
Recommended roast profiles for drip: medium to medium-dark
The ideal roast for drip coffee is medium to medium-dark. These roasts provide a good balance of acidity and body.
They work well for larger batches and auto-drip machines.
Lighter roasts are great for pour-over setups, highlighting fruit and floral notes.
Medium-dark roasts offer richer flavors like caramel and chocolate. They are perfect for household drip brewers.
How to store beans to preserve flavor: airtight, cool, dark locations
Storing beans correctly is crucial. Use an opaque, airtight container and keep it in a cool, dark place.
This slows down oxidation and keeps the oils that create aroma.
Avoid refrigerating or freezing daily beans. Condensation and odors can harm the quality.
Freeze beans only when you have a large supply, and use airtight bags.
| Choice | Why it matters | Practical tip |
|---|---|---|
| Whole beans | Best retention of aroma and flavor for drip brewing | Grind just before brewing; buy 1–2 week supply |
| Pre-ground | Convenient but loses aromatics quickly | Store airtight and use within a few days |
| Medium roast | Balanced acidity and body for most drip machines | Great starting point for the best drip coffee recipe |
| Medium-dark roast | Fuller body for larger batches and stronger cups | Choose for breakfast blends or milk-based drinks |
| Storage method | Prevents staling and flavor loss | Use opaque airtight jars in a cool, dark place |
grind size and equipment: matching grind to your drip coffee maker
Choosing the right grind is a simple way to improve your daily coffee. The grind affects how water flows through the coffee grounds.
Small changes in grind can alter the flavor and notes in your coffee.
Why uniform particles matter
Consistency is key for a consistent cup every time. Burr grinders make uniform particles for even extraction.
Cary Wong says this leads to cleaner, more balanced coffee.
On the other hand, blade grinders chop beans into mixed sizes. This uneven mix can make some particles over-extract and others under-extract. This results in bitter or sour flavors.
If using a blade, pulse in short bursts and sort visually for more uniform pieces.
Recommended grind for most drip setups
For auto-drip machines and common filters, aim for medium to medium-coarse. Think of a texture like sea salt for many cone filters.
This range is ideal for most home machines.
Adjust slightly finer for faster-draining cheap machines. Go coarser if your pot is taking too long to finish or tastes bitter.
How grind affects extraction, taste, and time
Finer grinds increase surface area and speed extraction. Fast extraction can lead to bitterness.
Coarser grinds slow extraction and can make coffee taste weak or sour when contact time is short.
Match grind to brew time and machine flow. If your cup is bitter, try a coarser setting.
If it is thin or sour, move finer. Simple adjustments let you control strength and clarity without changing beans.
- burr grinder vs blade: Choose a burr for repeatable results.
- When dialing in, change one variable at a time: grind, then ratio, then brew time.
- Keep a tasting log so you remember how grind affects extraction in your setup.
water quality and temperature for perfect extraction
Coffee is mostly water. This fact makes water quality very important when brewing.
Using fresh, cold filtered water brings out the best flavors. Tap water with chlorine or odd smells can hide the taste of single-origin beans or a well-made drip coffee.
Many brewers aim for a specific heat range to get a balanced flavor. For manual pour-over and most home brewers, the goal is 200–205°F, just 30 seconds off boiling.
Some devices and recipes suggest lower temperatures. Check your machine’s specs if you use an automatic brewer.
High-end machines like the Moccamaster hit the perfect brew temperature with special heating systems.
Basic auto-drip units might run cooler. If you think your brew is too cool, use a thermometer or preheat with a kettle. Adjusting the temperature is a common fix when brews taste weak or sour.
Water minerals affect how coffee tastes and feels in your mouth. Very soft water might taste flat, while very hard water can bring out harsh or metallic notes.
Aim for water with balanced minerals; many roasters and labs suggest moderate alkalinity and some dissolved solids for the best taste.
If your coffee tastes off, start by testing your water. Try bottled spring water or a simple carbon filter. If bitterness remains, check your grind size and temperature next.
Use the best drip coffee techniques: consistent grind, proper ratio, correct water temp, and good water quality for coffee.
Below are quick troubleshooting steps you can apply without changing beans or gear:
- Flat or dull cup: try filtered water with a touch more minerality, raise temperature slightly, or tighten grind.
- Bitter or harsh cup: lower water temperature, coarsen the grind, or reduce brew time.
- Metallic or chalky notes: test tap water and switch to bottled or filtered water if needed.
Try these adjustments with your favorite drip coffee technique. Small changes to water and heat can improve clarity and balance.
Practicing these best drip coffee techniques will help you make a great cup every day.
drip coffee ratio and measuring for predictable results

Consistent coffee starts with a clear drip coffee ratio and simple measuring habits.
Small changes in dose or water make a big taste difference.
Below are practical numbers, conversions, and tips you can follow in a step-by-step drip coffee guide.
Standard ratios and easy conversions
Many pros start with a 1:16 to 1:17 coffee-to-water ratio. Counter Culture suggests 20 g coffee per cup with 320 g water.
This gives a reliable baseline for the best drip coffee recipe.
If you prefer tablespoons, use Starbucks’ common guidance: 2 tablespoons (about 10 g) per 6 fl oz (180 ml) cup.
Remember, grams to tablespoons of coffee can vary with grind and how you scoop.
Scaling ratios for 2–12 cups
Scale the 20 g : 320 g ratio up or down by simple multiplication. For example, 4 cups = 80 g coffee : 1,280 g water. An 8-cup batch needs 160 g coffee : 2,560 g water.
Use the same math for other batch sizes. For a 2-cup batch multiply by two.
For 12 cups multiply by twelve. Write your numbers down so you can repeat what you like.
Scale versus volume: accuracy and tips
A digital scale for coffee gives repeatable results every morning. Weigh beans before grinding to avoid dosing shifts.
Weigh water in the carafe or reservoir when possible for precise extraction.
Tablespoons work for casual brewing but expect variability. If you use volume, measure your brewer’s true cup size first.
That prevents surprises when a machine’s “cup” differs from standard ounces.
Practical consistency tips
- Weigh beans, grind immediately, then brew to reduce loss of aroma.
- Note the ratio and taste in a log. Change one variable at a time.
- If strength needs adjustment, tweak coffee by 2–5% rather than large jumps.
- Keep a small kitchen scale and timer handy as part of your step by step drip coffee guide.
| Batch | Coffee (g) | Water (g) | Approx. Tbsp (coffee) |
|---|---|---|---|
| 1 cup | 20 | 320 | 2 Tbsp |
| 4 cups | 80 | 1,280 | 8 Tbsp |
| 8 cups | 160 | 2,560 | 16 Tbsp |
| 12 cups | 240 | 3,840 | 24 Tbsp |
Follow these measures and your best drip coffee recipe becomes repeatable.
Use a scale for coffee when you want precision, and keep the tablespoons method as a convenient backup.
step-by-step drip coffee guide
This guide helps you make a great cup of coffee easily. It’s perfect for those who want a simple way to make coffee every time.
Prep the night before vs fresh grinding
Preparing the night before saves time. Grind the beans, set up the basket, and measure the water. Then, just press start in the morning.
Grinding beans fresh gives the best flavor. Grind them right before brewing to get the most aroma.
Choose between efficiency and flavor based on your day.
Setting up filter and rinsing to remove papery flavors
Choose the right filter for your coffee maker. For paper filters, wet them with hot water to remove taste and warm the carafe.
Throw away the water before adding coffee grounds.
Reusable filters don’t need rinsing for taste. But, a warm rinse helps clear residue and keeps the temperature steady.
Brew steps for auto-drip
- Measure beans by scale or tablespoons. Grind to medium for most machines.
- Place the filter and add grounds to the basket.
- Pour cold, filtered water into the reservoir to the desired cup mark.
- Start the machine and let it complete the full cycle. Avoid interrupting mid-brew to keep extraction steady.
- Serve immediately or move brewed coffee to an insulated carafe. Aim to drink within about 20 minutes for best taste.
Manual cone drip quick steps (Hario/Chemex style)
- Heat water to about 200–205°F.
- Pre-rinse filter and warm the vessel, then discard rinse water.
- Add medium-fine grounds, roughly 20 g per cup as a starting point.
- Pour a small amount of water to bloom the grounds for 30–45 seconds.
- Continue pouring slowly in concentric circles until you reach the target water weight. Aim for a 2.5–3 minute total brew time for single-cup pour-over.
- Remove filter, pour, and enjoy. Clean equipment soon after to prevent stale oils.
Use these steps as a starting point. Adjust grind, dose, and water to suit your taste.
| Step | Auto-Drip Action | Manual Cone Action |
|---|---|---|
| Measure | Weigh or scoop medium grind; set water in reservoir | Weigh 18–20 g coffee per cup; prepare water at 200–205°F |
| Filter Prep | Insert filter and pre-wet to warm carafe | Fold and pre-rinse paper; warm Chemex or mug |
| Initial Pour | Start machine; machine handles flow | Pour small amount to bloom 30–45 seconds |
| Main Brew | Let cycle finish uninterrupted for steady extraction | Pour slowly in circles until target weight; total 2.5–3 min |
| Finish | Serve or transfer to insulated carafe promptly | Remove filter, serve immediately, and clean gear |
Follow this checklist and refer to the drip coffee maker tutorial when trying a new machine.
Always pre-wet the filter and warm the vessels to improve taste and temperature.
drip coffee brewing tips and techniques to improve flavor

Small changes can make a big difference in your coffee. These tips are easy to use and work with any coffee maker.
They help you get the perfect cup every time.
Pre-wetting filters and warming the carafe
Rinse your paper filters with hot water before adding coffee grounds. This removes any papery taste and ensures water flows evenly.
Also, pour the rinse water into your carafe or mug to warm it up.
A warm carafe helps keep the brewing temperature steady. It prevents heat loss as the coffee drips.
Adjusting grind size, ratio, and brew time to dial in strength
Start with a basic ratio and then make small adjustments. Changing the grind by 5–10 percent or moving your burr grinder one notch can make a big difference.
If your coffee tastes bitter, try a coarser grind or a shorter brew time.
If it tastes weak or sour, try a finer grind or a bit more coffee. Weigh your water and coffee for consistent results.
For manual drip, pour steadily to avoid channeling.
Serving recommendations: ideal time window, storage in an insulated carafe
Serve your coffee within 20 minutes for the best flavor. If you need to keep it longer, move it to an insulated carafe.
Hot plates can scorch your coffee and dull its aromas.
Avoid reheating your coffee as it can lose its complexity. Keep a small tasting log to track your adjustments.
This turns trial and error into a perfect recipe.
| Adjustment | What to change | Effect on flavor |
|---|---|---|
| Grind finer | One burr step finer | Richer body, less sourness; risk of bitter if too fine |
| Grind coarser | One burr step coarser | Cleaner cup, less bitterness; may taste weak if too coarse |
| Increase dose | +5–10% coffee by weight | Stronger, fuller flavor; can highlight sweetness |
| Decrease dose | -5–10% coffee by weight | Lighter, more delicate cup; may taste thin |
| Pre-wet filter | Rinse with hot water | Removes papery taste and stabilizes brew temp |
| Hold time | Serve within 20 minutes or use an insulated carafe | Preserves aroma and balance for serving drip coffee |
common drip coffee troubleshooting and fixes
When your morning coffee tastes bad, a few simple checks can fix it.
This guide helps you find and fix drip coffee problems quickly.
Bitter coffee: likely causes and remedies
Bitter coffee often comes from over-extraction, a too-fine grind, or water that’s too hot.
Too much contact time pulls harsh compounds.
To fix bitter coffee, try a coarser grind. Also, reduce the coffee amount and shorten the brew time if possible.
If your brewer gets too hot, look for one with better temperature control, like a Technivorm Moccamaster.
Weak or sour coffee: causes and practical fixes
Weak or sour coffee means it’s under-extracted. This can be due to a too-coarse grind, too little coffee, or water that’s too cold.
To fix weak coffee, make the grind finer and increase the coffee-to-water ratio.
Make sure your brewer or kettle is near 200–205°F. Use fresh, filtered water and adjust the ratio to balance flavors.
Machine maintenance tips to prevent problems
Regular maintenance keeps your coffee tasting good and your machine working well.
Clean the brew basket, carafe, and water reservoir after each use to avoid stale oils.
Descaling as recommended by the maker removes mineral buildup from hard water.
Clean reusable filters and replace paper filters when needed. These steps prevent off-flavors and extend your equipment’s life.
Quick troubleshooting checklist
- Adjust the grind one step coarser or finer and taste the change.
- Confirm the water temperature is near 200°F before brewing.
- Check the dose against your preferred ratio and scale for accuracy.
- Rinse paper filters to remove papery flavors before brewing.
- Descale and deep-clean monthly if you use hard water.
Common off-flavors and what to check first
| Off-Flavor | Likely Cause | First Fix |
|---|---|---|
| Bitter | Over-extraction, too-fine grind, too-hot water | Coarsen grind, shorten brew time, lower temp slightly |
| Weak or Sour | Under-extraction, too-coarse grind, low dose, cold water | Finer grind, increase dose, ensure proper water temp |
| Flat or Metallic | Water quality or mineral buildup in the machine | Use filtered water, descale the machine, and clean the reservoir |
| Papery | Unrinsed paper filter | Rinse the filter before brewing |
These tips and regular care steps can fix most problems. Make small changes, test one at a time, and note what works.
This way, your next pot of coffee will be perfect.
expert drip coffee advice and advanced techniques
These expert tips focus on small changes for better cups. You’ll learn drip coffee techniques and how to use bloom ideas from manual methods.
Also, when to upgrade your coffee gear for the best results.
Start by tracking variables. Keep a short brewing log of grind, dose, water temperature, and time.
Small, single-factor changes help you see real effects. This habit is a common tip from coffee educators and makes dialing in a routine easier.
Tips from coffee educators: bloom concepts adapted for manual and some auto-drip setups
Bloom for drip coffee works because fresh grounds release CO2. In manual brews, wet the grounds with twice the coffee’s weight in water and wait 30–45 seconds.
This releases trapped gas and improves extraction.
Some semi-manual or high-end auto-drip setups allow a brief pre-wet. Pour a small amount of hot water over the bed, or use the machine’s pause-and-pour trick when applicable.
This brings bloom benefits to machines that skip that step.
How pour-over principles (Hario V60/Chemex) can inform better auto-drip results
Pour-over principles translate well to drip machines. Aim for even saturation, uniform grind, and stable water temperature.
Use a flat-bottom or cone filter, rinse it before brewing, and level the grounds in the basket for consistent extraction.
High-quality brewers like Moccamaster and Bonavita mimic pour-over showerhead distribution and ideal temperature.
If your current brewer lacks even flow, focus on grind uniformity and filter prep to close the performance gap.
When to upgrade gear (burr grinder, better brewer, water filtration) for noticeable improvements
Upgrade coffee gear when a single change will fix your main flaw. Swap a blade grinder for a burr grinder to gain consistent particle size and cleaner flavor.
Choose a Best drip coffee maker candidate like Moccamaster or Bonavita when your machine fails to reach the proper brew temperature or even showering.
Install a basic water filter if tap minerals or chlorine cause off-flavors. The combined effect of a burr grinder, a precise brewer, and filtered water often gives the largest, immediate cup upgrade.
| Focus | Typical Issue | Practical Fix | Expected Result |
|---|---|---|---|
| Grind consistency | Uneven extraction, bitter or thin cup | Buy a conical burr grinder; dial from medium to medium-coarse | Smoother, more balanced flavor |
| Bloom control | Excess CO2, under-extracted taste | Pre-wet grounds or pause pour for 30–45 seconds on manual and semi-auto setups | Improved sweetness and clarity |
| Brewer performance | Low temp or uneven water flow | Consider Moccamaster or Bonavita style brewer with even showerhead | Better extraction and flavor clarity |
| Water quality | Chlorine taste, minerality issues | Use a carbon or reverse osmosis filter tailored for coffee | Cleaner cup and truer bean character |
| Routine control | Inconsistent results | Keep a brew log: dose, grind, temp, time | Repeatable, predictable brews |

Conclusion
Making the perfect drip coffee is easy once you know the basics. Start with fresh beans and a burr grinder or good pre-ground coffee if you’re in a hurry.
Use cold, filtered water and aim for a 1:16–1:17 ratio, like 20 g coffee to 320 g water.
Pre-rinse your paper filters and let the coffee brew without stopping.
These steps create a simple routine for great coffee every day.
If you like things easy, prepare your coffee grounds the night before or use an auto-drip machine.
For more control, grind your beans just before brewing. Try a manual pour-over or a top-notch brewer like a Moccamaster.
Both methods work well. Pick what suits your morning routine and taste preferences.
Follow this guide and try small changes to grind size, ratio, and temperature.
Make notes and adjust one thing at a time. This way, you can fine-tune your coffee’s strength and clarity without guessing.
You now have a complete plan for making drip coffee at home and a handy troubleshooting guide.
Brew with confidence, experiment with new tips, and keep things simple when you’re in a rush. Enjoy better coffee every day.
The Best Price For The Moccomaster?