A Beginner’s Guide
Welcome. If you love the crema, the rich body, and the quick caffeine lift, you can learn how to make espresso at home.
It’s both an art and a science. With a simple setup and steady technique, you will see steady improvement.
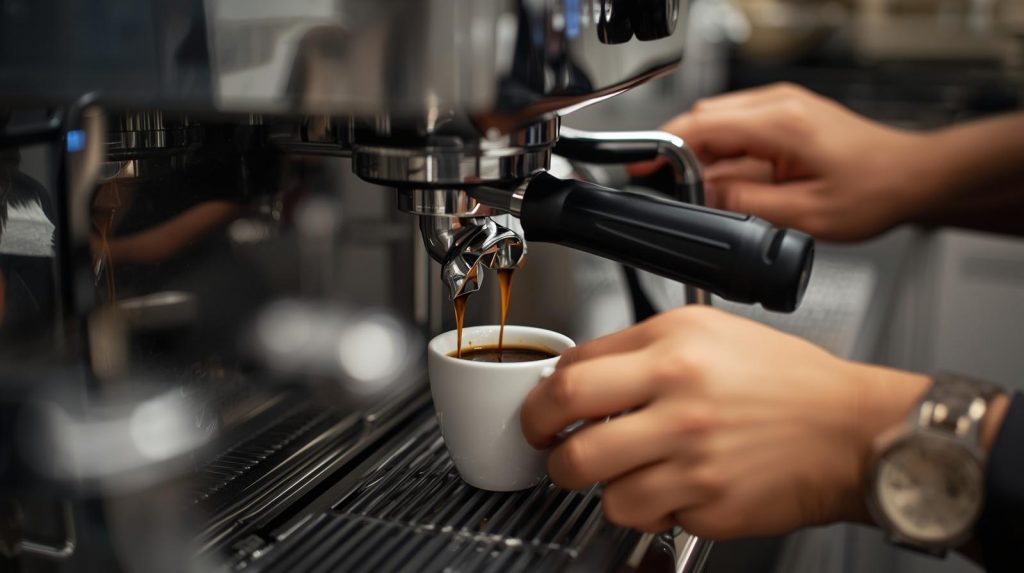
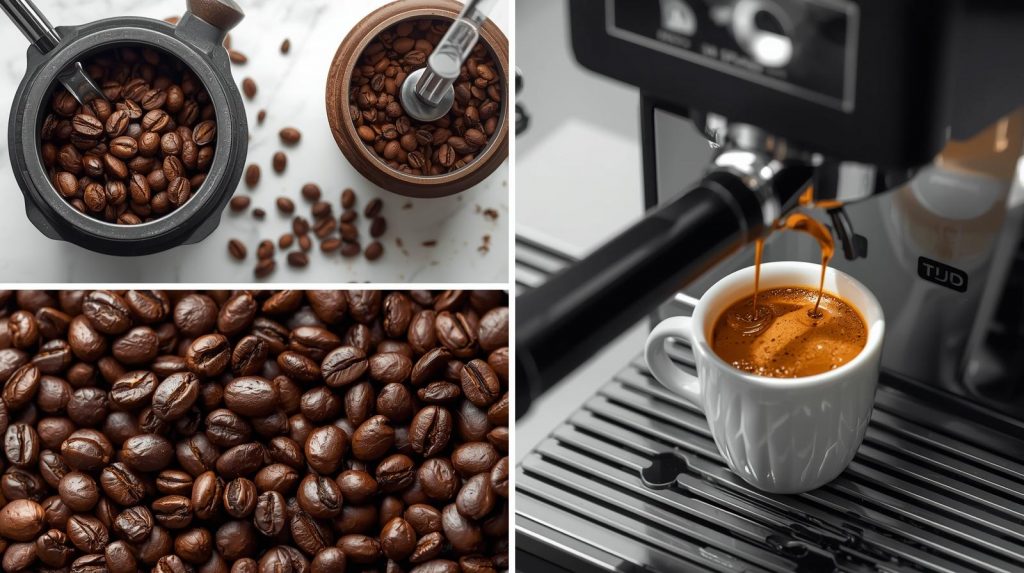
Espresso is concentrated coffee made by forcing hot water through finely ground beans under pressure.
It’s the base for drinks like cappuccino and latte, but it also stands alone with a bold, layered flavor.
Understanding this helps you taste what to adjust when making espresso.
This guide will walk you step-by-step from the basics to reliable shots. Expect short practice sessions, tasting, and small adjustments.
Recommended resources for deeper study include Scott Rao’s Professional Barista’s Handbook and hands-on classes at local espresso schools.
Key Takeaways
- Homemade espresso can match café quality with practice and consistency.
- Espresso is brewed by forcing hot water through finely ground coffee under pressure.
- Start with a simple, reliable setup and focus on repeatable technique.
- Taste frequently and make small adjustments to grind, dose, and time.
- Use trusted resources, like Scott Rao’s book or local barista classes, for faster progress.
Why Learn How to Make Espresso at Home
Learning to make espresso at home is more than just a better morning. It gives you control over the flavor, strength, and texture.
This control lets you make espresso that suits your taste every day.
Home brewing also saves money over time. A basic setup from brands like Breville or Rancilio is all you need to start.
With simple equipment, you can make great espresso at home for less than what cafes charge.
At home, you can experiment with roast levels, ratios, and recipes. Try single-origin beans, dark blends, or lighter roasts to find what you like.
This freedom lets you see how milk drinks like cappuccinos and lattes change with different espresso bases.
As you practice, your skills will grow. You’ll learn to adjust grind, time extractions, and steam milk for smooth microfoam.
These techniques improve consistency and help you notice subtle differences between beans and roasts.
The biggest reward is the joy of making a cafe-quality shot yourself.
With patience and the right equipment, you can make the best espresso at home. You’ll enjoy savings, convenience, and creative control.
Essential Equipment for Making Espresso
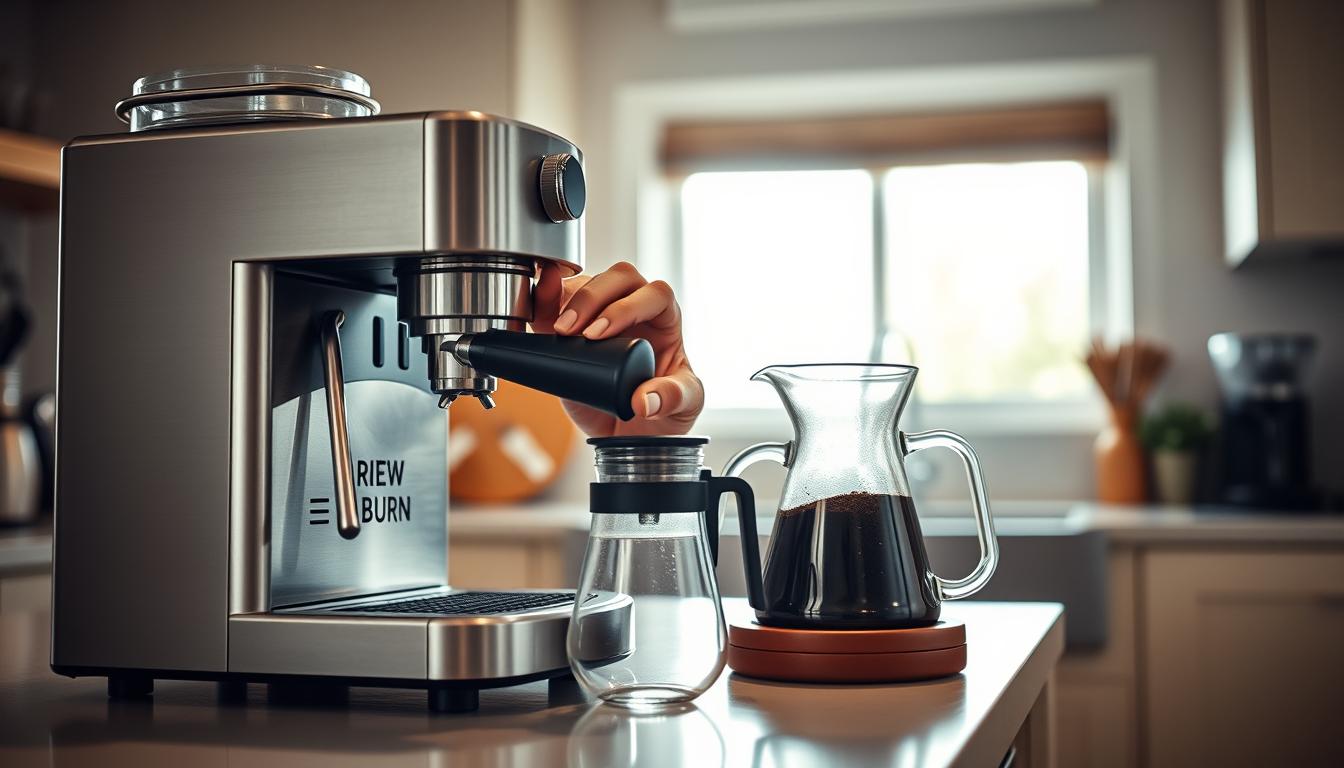
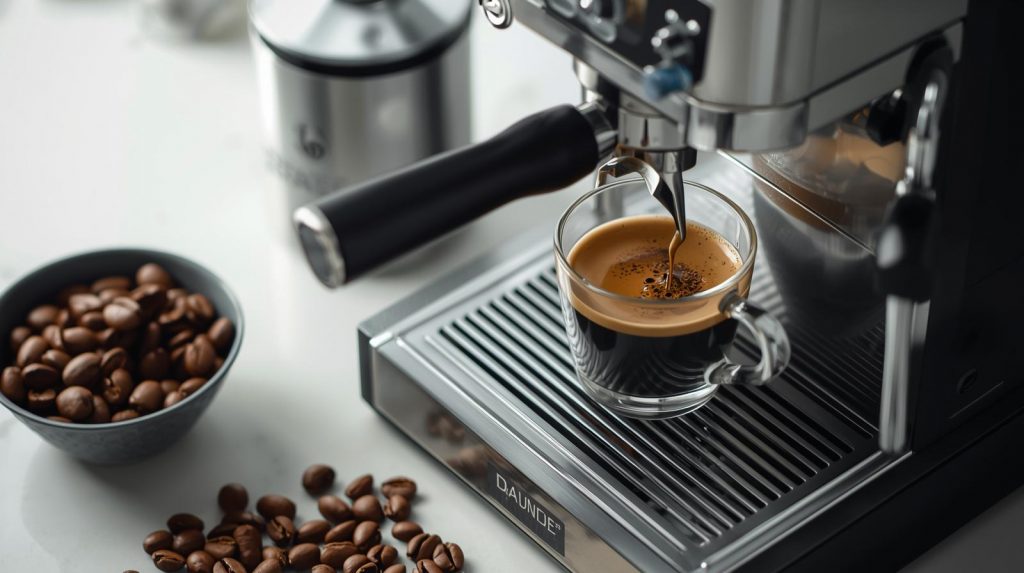
Great homemade espresso starts with the right gear. You don’t need the most expensive setup.
A reliable espresso machine, a consistent grinder, and a few key tools are essential.
These items help you extract crema, balance flavors, and repeat results shot after shot.
Espresso machine types and what to buy
Choose a machine that matches your goals and budget. Manual lever machines are great for hands-on brewing.
Semi-automatic models offer control over timing and pressure. Super-automatic machines handle grinding and brewing for convenience.
For beginners, the Breville Infuser is a good choice. It includes essentials like a portafilter and tamper.
For the best espresso at home, look for a machine with stable temperature and a good pump. Research brands and read reviews before buying.
The grinder: why it matters more than the machine
A burr grinder shapes the taste of your espresso more than the machine does.
Consistent particle size yields even extraction and better crema. Prioritize a quality burr grinder before upgrading to a high-end machine.
For budget grinders, Baratza Encore ESP and Varia VS3 are solid choices. Manual options like the Timemore Chestnut C3 Pro or Knock Aergrind work well for small kitchens and travel.
Serious home baristas may upgrade to premium units such as the Turin DF64 Gen 2.
Always purge the grinder when changing settings. Weigh doses with a small digital scale.
Start around 15 g for a double and adjust as you dial in your grind for homemade espresso.
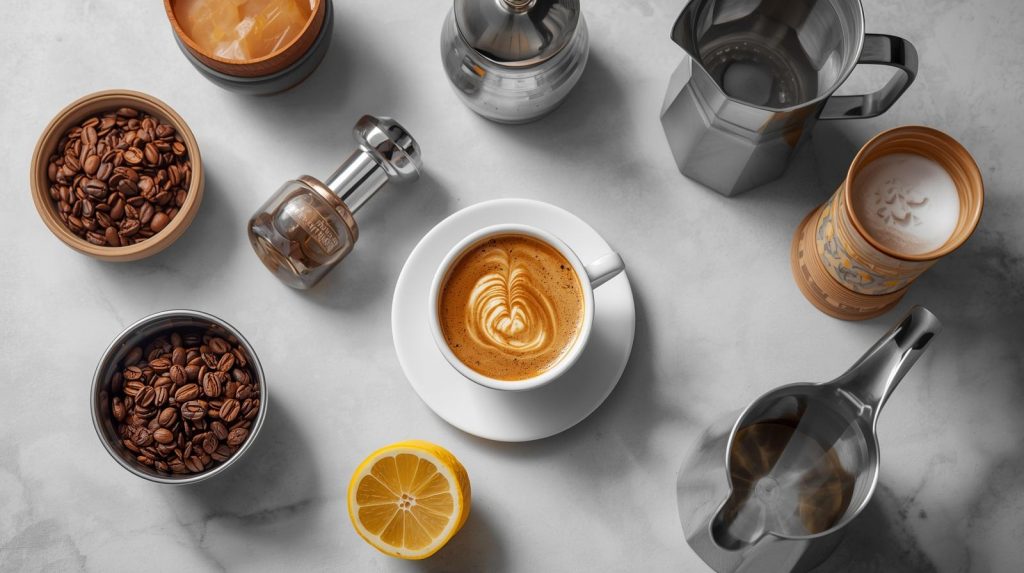
Other useful tools
Round out your kit with a properly sized tamper, a distribution tool or WDT needle, and a knock box.
A reliable digital scale helps you dose accurately. A timer or the scale’s timer feature keeps shot timing consistent.
Consider a milk pitcher for steaming, a cleaning brush for the group head, and a spare set of portafilter baskets.
These small tools make it easier to achieve the best espresso at home and keep your setup working smoothly.
Choosing the Right Coffee Beans and Roast
Start with the right beans for great espresso coffee. Freshness and roast level greatly affect flavor.
View bean selection as a key part of the craft.
Roast levels for espresso
Roasters offer light, medium, and dark roasts. Light roasts show off origin notes and taste bright.
Medium roasts add sweetness and body, great with milk.
Dark roasts have bold, bittersweet flavors, typical of traditional espresso. Try each to find your favorite.
For milk drinks, medium roasts are often best. For straight shots, light roasts reveal floral and fruity notes.
Freshness and storage
Check the roast date on the bag. Beans need a few days to off-gas after roasting.
Use them within two weeks for the best taste.
Store beans in an airtight container in a cool, dark spot. Don’t put them in the fridge or freezer.
Moisture and odors can harm the beans and ruin the crema.
Single-origin vs blends
Single-origin espresso coffee highlights regional flavors. It’s great in small espressos or cortados. B
lends balance acidity, body, and sweetness, often made for espresso and milk.
Buy small amounts and try both single-origin and blends. Look for clear roast dates and tasting notes from roasters like Stumptown, Counter Culture, or Intelligentsia.
This helps refine your choices as you learn to make espresso at home.
- Check roast dates and buy fresh.
- Buy small quantities and rotate beans weekly.
- Experiment with roast levels for espresso to match your preferred drinks.
- Try a blend and a single-origin to explore range.
Water Quality and Its Impact on Espresso
Water makes up over 95% of an espresso shot. This means your water choice greatly affects flavor, extraction, and machine health.
Tap water with chlorine or off-notes can ruin a shot. Using clean, consistent water is a simple way to improve your espresso.
Why water matters
Minerals in water help with extraction. Water without minerals can make espresso taste flat.
Too many minerals can cause bitterness and uneven taste.
The best water has balanced hardness. It supports good extraction and protects your machine.
Filtering and mineral content
Filters like Brita pitchers remove chlorine and contaminants.
They leave useful minerals. ZeroWater removes almost all minerals, which can harm flavor.
In hard-water areas, under-sink softeners or targeted filters are key. They protect your equipment and taste.
Purge the group head before brewing to remove stale water. Keep the water temperature between 90–95°C for consistent shots.
Try different filters and listen to your taste. Use water with some minerals, avoid chlorine or metallic tastes, and descale regularly.
This will keep your espresso at home tasting great.
| Concern | Recommended approach | Why it matters |
|---|---|---|
| Chlorine or off-flavors | Use Brita or fridge filters to remove chlorine | Prevents tainted taste and preserves crema clarity |
| Too few minerals | Avoid full demineralizers like ZeroWater for brewing water | Maintains balance and avoids flat, lifeless espresso |
| Hard water and scale | Install under-sink softener or follow strict descaling schedule | Protects boiler and group head, extends machine life |
| Inconsistent temperature | Keep machine warmed and purge group head before shots | Ensures steady extraction and predictable flavor |
| Personal taste variation | Experiment with filters and bottled spring water options | Helps you tune water quality espresso to preferred flavor |
Grinding, Dosing, and Distribution Techniques
Good espresso starts with the grinder and ends in your cup. This guide will show you how to control grind size, ensure consistent dosing, and distribute and tamp evenly.
By following these steps and keeping notes, you can make great shots every time.
Grind size and dialing in
Fresh, uniform grind is key for crema and even extraction.
Grind your coffee just before brewing and use a quality burr grinder for consistent size.
Begin with a grind finer than sand but not as fine as table salt. Pull a shot and adjust the grind if needed.
If it tastes sour or extracts too fast, make it coarser. If it tastes bitter or extracts too slowly, make it finer.
Always purge the grinder after each adjustment to remove old particles.
Dose and yield concepts
Dose is the dry weight of coffee in the basket. Yield is the liquid weight in your cup. Time is how long it takes to extract. Keep the dose consistent to make dialing in easier.
Weigh your doses for consistency. A good starting point is 15 g for a single and 30 g for a double basket.
For many double baskets, use 13–18 g. Aim for a 1:2 brew ratio and an extraction time of 24–30 seconds. Then, adjust to your liking.
Distribution and tamping basics
Level the grounds before tamping to avoid channeling. You can use your fingers, a distribution tool, or gentle taps on the portafilter rim.
Place the portafilter on a flat surface for a stable tamp.
Practice a consistent tamp. Many baristas aim for about 30 pounds of pressure. If you’re learning, press until the tamper touches the coffee, then use a scale to find steady pressure.
Record your tamp technique and grind settings when making espresso at home.
Start each session with a measured dose, grind very fine, and purge when adjusting. Distribute and tamp evenly, and time the shot.
Keep a simple log of dose, grind setting, yield, and seconds to repeat your successes.
Pulling the Shot: Time, Pressure, and Temperature

Making a great espresso shot is both an art and a science. You’ll learn to notice flow, crema, and taste.
By making small adjustments, you can create a consistent recipe for your espresso machine and coffee beans.
Extraction parameters
First, plan your shot: dose, yield, and time. Aim for a 1:2 brew ratio and a 25–30 second shot time for a double. Look for a caramel brown stream with blond highlights for balance.
If the stream is pale, you’re under-extracting. If it’s dark and syrupy, you’re over-extracting.
Temperature and pressure guidance
Use water between 90–95°C for most roasts. For espresso, aim for 7–9 bars of brewing pressure.
This consistent pressure and temperature lead to predictable flavors. If your shots taste sour, try a bit warmer water or a finer grind.
For bitter or dry shots, cool the water or use a coarser grind.
Troubleshooting common issues
- If the shot pours too fast: grind finer or increase the dose.
- If the shot is choked or pours very slowly: grind coarser or reduce the dose.
- Sour or acidic cup: under-extraction. Raise temperature, tighten grind, or increase yield time slightly.
- Bitter, astringent cup: over-extraction. Lower temperature, open the grind, or reduce contact time.
- No crema or thin crema: check bean freshness, grinder quality, and machine condition.
Keep your machine clean and backflush it often with Urnex. Always purge the group head before each shot and clean the portafilter after.
These steps help your equipment last longer and improve your espresso-making skills at home.
Simple Espresso Recipes to Try at Home
Try three simple recipes to explore flavors and techniques. Each recipe is a starting point you can adjust.
View espresso as a form of art. Keep track of dose, grind, time, and taste to repeat successful results.
Available at our Brew Coffee Merchandise Store and a whole lot more!

Classic double shot recipe
Begin with 15 g of coffee. Aim for a 1:2 ratio, resulting in about 30 g of espresso.
Grind the coffee very fine and aim for a 25–30 second extraction at 8–9 bars. Look for a crema color like warm honey and a smooth flow.
Taste the espresso for balance. It should have sweetness, acidity, and bitterness in harmony.
This recipe provides a solid foundation for making adjustments.
Turbo shot and variations
For a turbo shot, use a coarser grind than the classic espresso. Reduce the dose by 3–4 g from your optimal double shot.
Aim for a 15-second pull at 4–6 bars with a 1:2.5 yield.
This version highlights clarity and sweetness, with less crema. Experiment with small changes in dose or grind to refine the flavor.
Allongé and extended shots
The allongé extends flavor with a longer yield. Use your normal dose and grind a bit coarser.
Aim for a 1:3 to 1:5 yield in about 30 seconds at 7–8 bars. The flow will be faster, and the cup more diluted.
A naked portafilter can show chaotic tailing at the end. Use visual cues and taste to guide the result.
This method produces a different flavor profile than the concentrated double shot.
Keep a log of each trial. A simple log helps track changes in grind, dose, pressure, and time.
These three recipes—classic espresso, turbo shot, and allongé—are great starting points for making espresso at home.
Steaming and Texturing Milk for Espresso Drinks

Adding well-textured milk to an espresso drink makes it special. It’s all about practice.
Keep your milk cold, work clean, and pay attention to how it feels as it heats.
Milk selection and temperatures
Whole dairy milk gives the best mouthfeel for espresso drinks. It also helps create stable microfoam.
Oat and soy milks are great options for baristas too.
Match your milk to the roast of your espresso. Creamier milks work well with lighter roasts, while darker roasts can handle leaner milks.
Try to heat your milk to 140–150°F (60–65°C). Stop adding air when it reaches 100–105°F.
This prevents the milk from becoming too hot and losing its texture and flavor.
Technique for microfoam
Begin by purging the steam wand and filling the pitcher almost to the top. Place the tip near the pitcher wall at a slight angle.
Add air gently until you hear a soft hiss.
As the milk warms, lift the pitcher to stop adding air. Hold the wand off-center to create a whirlpool.
This folds air into the milk, making it glossy and perfect for pouring.
If you see big bubbles, swirl the pitcher and tap it on the counter.
Clean and purge the steam wand right after steaming to keep it working well and safely.
Latte art basics and finishing tips
Practice pouring milk evenly. Start high to sink the milk, then lower the pitcher for contrast.
For a heart, pour to create a white circle, then pull through. For a rosetta, use a gentle wiggle as you move backward, ending with a straight pull.
Keep practicing until you can make microfoam consistently. Clean tools, cold milk, and the right temperature are key to improving your latte art and espresso drinks.
| Step | What to do | Target |
|---|---|---|
| Prep | Purge wand, use cold milk, fill the pitcher one finger below the spout | Clean equipment, proper volume |
| Aeration | Tip wand near surface, listen for a soft hiss for 2–6 seconds | Introduce a small amount of air for texture |
| Texturing | Lower the wand slightly and create a whirlpool off-center | Glossy microfoam without visible bubbles |
| Temperature control | Stop aeration at ~100–105°F; finish at 140–150°F | Drinkable temperature and stable foam |
| Finishing | Swirl, settle bubbles, steady pour for latte art | Clear contrast for hearts and rosettas |
Conclusion
Making espresso at home is a mix of science and creativity. Start with a consistent grind, clean water, and the right amount of coffee.
Also, tamp it evenly. These basics are key to every shot.
Keep your equipment clean and well-maintained. This ensures your espresso tastes great every time.
Dialing in your espresso means adjusting several things. This includes the amount of coffee, the shot’s volume, and how long it takes to make.
Also, pay attention to the temperature and pressure.
Try different roast levels and recipes to find your favorite. Weighing shots and timing them helps you learn faster.
Pay attention to how it tastes.
Start with simple, reliable equipment. A good grinder and a steady espresso machine are more important than fancy features. Clean your steam wand and group heads regularly.
Keep a tasting log to track your progress.
For more knowledge, read Scott Rao’s Professional Barista’s Handbook. Also, consider local barista classes and detailed tutorials.
With focus on water, cleaning, and practice, you’ll make great espresso at home. Keep tasting and taking notes.
Each shot teaches you more about making espresso at home.