
Welcome. This guide will show you how to make artisanal coffee blends at home.
You’ll learn about the importance of fresh coffee, blending for flavor, and the tools you need.
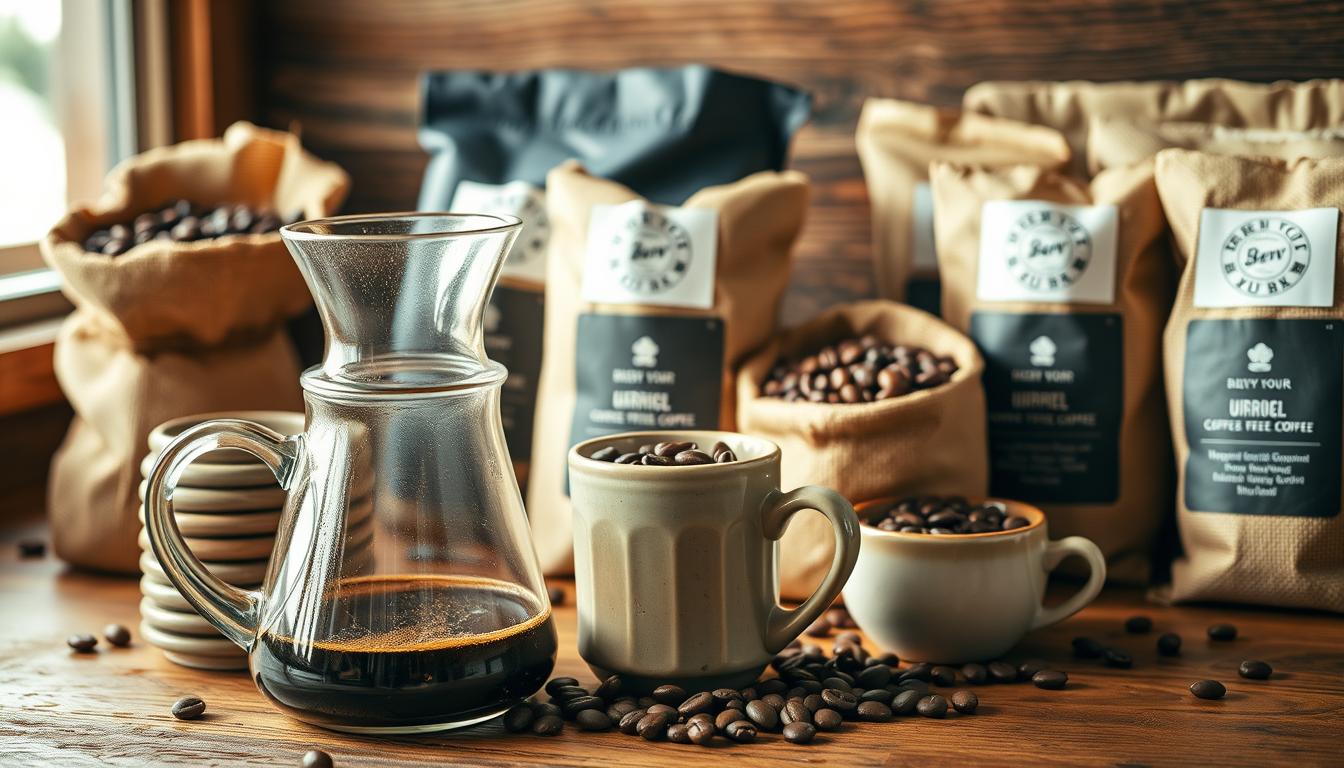
Freshness is crucial. Aromas in coffee start to fade quickly after roasting.
Grind your coffee just before you brew to keep those flavors alive. Look into local roasters or subscription services for fresh beans.
For example, Caffe Luxxe ships from Los Angeles and offers beans that are always recent.
Blending is both an art and a way to control flavor. Good blends offer a consistent taste that balances cost and taste.
Stick to no more than five coffees in a blend to keep the flavor clear and easy to repeat.
The right tools also matter. You’ll need a good burr grinder, a digital scale, a kettle, and a thermometer.
These tools help you fine-tune your brewing. With practice, you can make coffee blends that are just as good as those from a café.
Key Takeaways
- Use fresh whole-bean coffee and grind just before brewing to retain aroma.
- Blending creates consistent, repeatable flavor—limit components for clarity.
- Choose local roasters or subscriptions to ensure recent roast dates.
- Essential tools: burr grinder, scale, kettle, and thermometer for control.
- Practice small batches to refine specialty coffee blends and gourmet coffee blends.
Why Brew Artisanal Coffee Blends at Home
Using fresh beans and grinding just before brewing can make your coffee as good as a café’s.
You can learn to make your favorite cup with pour-over, AeroPress, or French press. This way, you discover what you like best.
Benefits of making specialty coffee blends at home
At home, you control the flavor and can make the same cup over and over. You pick the origin, roast level, and grind size.
You can try small changes and keep notes to perfect your coffee.
How small-batch and handcrafted coffee blends elevate flavor and consistency
Small-batch coffee keeps delicate flavors that big batches might lose. Handcrafted coffee lets you focus on roast timing and origin pairing.
This way, you can balance flavors and get consistent results every time.
Cost, convenience, and control compared to cafe purchases
Home brewing saves money once you buy a burr grinder and scale. You can make unique blends without café prices.
Plus, it’s quicker and lets you make your coffee just right, anytime.
Understanding Bean Origins and Flavor Profiles
Knowing where beans come from helps you make great coffee blends. The origin affects the coffee’s acidity, body, and taste.
This makes it easier to create unique blends or find the right coffee for espresso, filter, or small-batch roasts.
African coffees are often bright and have floral or citrus notes. These beans add complexity and lift to your coffee.
They’re perfect for adding a lively finish to your brew.
Latin American coffees have sweet notes, chocolate, and caramel. They offer a smooth body and stable sweetness.
These coffees are great as the base in blends for smoothness and balance.
Asian and Indonesian beans have a heavier body, earthy tones, and spice. They add depth and weight.
A bit of Indonesian coffee can ground a blend without hiding the brighter notes.
How origin affects tasting attributes
- Acidity: higher in many East African beans, giving crisp, citric clarity.
- Body: fuller in Indonesian and some Latin American coffees, lending mouthfeel.
- Flavor notes: fruit and floral from Ethiopia and Kenya; chocolate and nut from Brazil and Colombia.
Typical fingerprints help you plan blends. Use fruity Ethiopian for bright, citrus notes.
Choose chocolaty Brazilian for a sweet base. Nutty Colombian adds a juicy mid-palate.
Start with 40% base, 40% mid, 20% high and adjust for balance.
Arabica or Robusta?
- Arabica dominates specialty coffee. Expect nuanced acidity, delicate aromatics, and complex flavor. Most organic and locally roasted coffee blends use high-quality Arabica for clarity.
- Robusta has higher caffeine, more bitterness, and extra crema. Use it sparingly for added body in espresso or to create a bold stage in a blend.
Match origin and species to your blend goals. Pair fruity Ethiopian with chocolaty Brazilian for contrast.
Avoid pairings where a heavy Indonesian roast will overwhelm a delicate African single-origin.
Remember, freshness and handling preserve origin character. Buy from local roasters or trusted suppliers who note roast dates.
This keeps your unique coffee blends true to the flavors you intend to highlight.

Selecting Quality Beans for Specialty Coffee Blends
Choosing the right beans is key for any specialty coffee blend. Look for clear roast dates and origin notes on the bag.
Freshly roasted beans release aromatic compounds as they degas, so the roast date helps you pick beans that will still have vibrant flavors when you brew.
Where to buy: local roasters, online specialty retailers, and subscriptions
Visit a neighborhood roastery to sample small-batch coffee blends. Ask about origin, variety, and processing.
Many roasters, such as Stumptown or Counter Culture, host cuppings or tasting events you can attend.
Reputable online specialty retailers like Blue Bottle or Sweet Maria’s provide detailed origin pages and roast dates when local options are limited.
Subscriptions from local roasteries keep fresh beans arriving on a schedule that matches your brewing habits.
Looking for roast date, certifications (organic, Fair Trade), and storage notes
Prioritize roast date over certifications when flavor matters most.
Certifications like organic and Fair Trade add transparency about farming practices and appeal to many buyers, including those who prefer organic coffee blends.
Inspect packaging for storage instructions. Choose whole beans kept in opaque, sealed bags with one-way valves.
This setup protects fragile aromatics and helps maintain quality for small-batch and specialty coffee blends alike.
How to judge freshness and when to grind
Freshness shows in aroma, surface oils, and crisp cup clarity. Light and medium roasts often look dry with lively aromas.
Darker roasts may show oils on the surface, which can speed staling.
Grind immediately before brewing to preserve volatile flavors. Whole beans store best in a cool, dark place in an airtight container.
If you must freeze beans for long-term storage, portion them into airtight bags and thaw to room temperature before opening.
Use this practical checklist when you buy:
- Check roast date and origin notes on the bag.
- Buy whole beans and grind just before brewing.
- Prefer locally roasted coffee blends or trusted online specialty retailers for clear roast information.
- Consider subscriptions for steady access to fresh small-batch coffee blends.
| Buying Option | Strength | Best For |
|---|---|---|
| Local roasters | Fresh roast dates, direct roaster knowledge | Sampling single origins and locally roasted coffee blends |
| Online specialty retailers | Wide selection, detailed origin info | Access to hard-to-find beans and specialty coffee blends |
| Subscriptions from roasteries | Scheduled fresh deliveries | Regular supply of small-batch coffee blends and convenience |
| Direct-from-origin shops | Transparent traceability, farmer info | Building blends with distinct origin characteristics |
Tools and Equipment for Brewing Gourmet Coffee Blends

Improving your handcrafted coffee blends is easier with the right tools.
Start with items that help you be more accurate and consistent. These small investments can greatly enhance the taste and balance of your coffee.
A quality burr grinder is key for even particle size. This ensures consistent extraction in pour-over, French press, and espresso.
Many home brewers see a big flavor improvement by switching from a blade grinder to a burr grinder.
Using a digital scale for precise dosing is also important. Traditional scoops can’t handle the differences in bean density and roast level.
A scale lets you stick to exact coffee-to-water ratios, making it easier to reproduce your favorite blends.
Other useful tools complete your setup. A kettle with good pour control is great for pour-over and AeroPress.
A thermometer keeps the water at the perfect 195–205°F range. Don’t forget filters and a tamping mat for consistent results in both paper and espresso brewing.
- Essential items: burr grinder, digital scale, kettle, thermometer.
- Brewing devices: pour-over dripper, French press, AeroPress, espresso machine.
- Accessories: paper or reusable filters, tamper, tamping mat, mixing bowl for small-batch blending.
Choose tools that fit your brewing methods. Pour-over and AeroPress need grind control and a gooseneck pour.
French press prefers a coarse grind. Espresso requires a fine grind and a tamper for stable pressure.
Start refining your coffee blends with a burr grinder and a digital scale. These two tools will give you the fastest improvements in consistency.
They make it easier to perfect your gourmet coffee blends.

Creating Balanced Small-Batch Coffee Blends
Blending lets you shape aroma, texture, and acidity to match a clear cup profile.
Use fresh beans and careful extraction while you test. Start with a plan for base, mid, and high notes before you mix.
Blend building basics:
Pick a sweet base from Brazil, Peru, or Mexico to give caramel and chocolate weight.
Choose a mid-palate coffee from Colombia, Guatemala, or Costa Rica for juicy, fruit-driven structure.
Add a high-note coffee like Kenya or Ethiopia for bright citric acidity and floral top notes.
Suggested starting ratio templates:
- 40:40:20 — balanced, steady sweetness and lift.
- 30:30:40 — forward brightness, great for milky drinks.
- 60:20:20 — fuller body, comfortable bitterness control.
How to tweak ratios:
Brew small-batch coffee blends at each ratio to compare. Adjust by 5–10% steps until the cup shows clarity.
If acidity is too sharp, add base; if it feels dull, raise the high-note component.
Why limit components:
Keep blends to four or five components at most. Each component should be at least 8% of the final mix to make its character meaningful.
Fewer components preserve clarity and allow artisanal coffee blends to sing.
Practical workflow:
- Define the cup profile you want: sweet, bright, or balanced.
- Select origins for base, mid, and high roles.
- Roast and test components separately when possible.
- Brew small samples and taste liquid blends before scaling.
- Document ratios, roast levels, and grind settings for repeatability.
When you follow this method, blend building becomes a repeatable craft.
You will create unique coffee blends that highlight each origin and show consistent clarity in the cup.
Grind, Dose, and Water: The Extraction Fundamentals
Getting extraction right means control. You need a precise coffee-to-water ratio, a consistent grind size, and clean water at the right temperature.
These three elements shape clarity, body, and flavor when you brew artisanal coffee blends at home.
Using a scale for precise coffee-to-water ratios
Use a digital scale, not tablespoons. Start with a house blend at 1:12 (35 g coffee to 400 g water) to boost body.
For delicate single origins try 1:14 to highlight nuanced notes. When blooming, pour roughly twice the coffee weight in water—35 g coffee → 70 g water—and wait about 30 seconds before continuing.
Matching grind size to brewing method and adjusting for taste
Choose a burr grinder for even particle distribution.
Espresso needs a fine grind, pour-over and AeroPress favor a medium grind, French press works best with coarse. Uniform grind size reduces channeling and uneven extraction.
When a brew tastes sour, make the grind finer or increase dose. If it tastes bitter, go coarser or shorten contact time.
Adjust the coffee-to-water ratio and grind size together while you test blends.
Importance of filtered water and ideal brewing temperature range
Water makes up about 98.5% of the cup. Use filtered water, not distilled, so mineral content can help the extraction.
Aim for 195–205°F, roughly 30–60 seconds off the boil. For some immersion brews, slightly lower temps near 185°F suit lighter roasts.
| Variable | Typical Range | Effect on Cup |
|---|---|---|
| Coffee-to-water ratio | 1:12 (bold) — 1:14 (delicate) | Changes body and perceived strength |
| Grind size | Fine (espresso), Medium (pour-over), Coarse (French press) | Controls extraction speed and clarity |
| Water quality | Filtered, some mineral content | Improves flavor balance and extraction |
| Temperature | 185–205°F depending on method | Affects solubility of acids, sugars, and bitters |
| Bloom | ~2× coffee weight, 30 seconds | Releases CO2 and primes the grounds for even extraction |
Keep each component of a blend at least 8% of the mix and limit components to five.
Weigh your coffee and water every time. Track adjustments and taste with purpose.
This approach turns trial into repeatable results for artisanal coffee blends.
Roast and Roast Management for Handcrafted Coffee Blends
Choosing the right roast is key to a blend’s taste and how it brews. Light roasts show off acidity and floral notes.
Medium roasts offer balance and sweetness.
Dark roasts add depth and caramel flavors.
Freshness is crucial. Beans lose their volatile aromas fast after roasting. Grind just before brewing to keep the flavors.
Keep records of your roasts to track how they work with different beans and brewing methods.
Start with a clear goal for roast management. Use lighter beans for bright flavors and darker beans for a rich base.
Match the roast level to your brewing time to avoid sour or bitter tastes.
Roasters often roast beans separately to keep their unique flavors. Taste each bean alone.
This helps you see how a light Ethiopian pairs with a medium Colombian or a dark Brazilian.
Blend beans after roasting for precise control. This way, you can keep the unique flavors of each bean. Roast green beans together for a unified taste with fewer variables.
Experiment with different roast levels in small batches. Use light for bright notes, medium for clarity, and dark for sweetness.
Test various ratios and brewing methods to see how they work together.
Match the roast to the brewing method. Lighter roasts work well with pour-over and filter brewing.
Darker roasts are better for espresso and French press. Adjust the grind and dose to match your blend’s roast levels.
Keep detailed records of each trial. Note the roast date, development time, and flavor notes.
This data helps you refine your roast management and create consistent handcrafted coffee blends. Use certified organic beans for organic blends.
Practical Brewing Techniques to Maximize Flavor

Start by warming up your equipment and setting clear goals for your coffee. A steady routine helps you get the same results with artisanal coffee blends.
Small, repeatable steps make it easier to adjust when you notice differences.
Preheat your gear and pre-wet filters to keep the temperature stable and remove paper taste.
Use hot water to heat your dripper and carafe, then throw out that water before brewing.
Pre-wetting filters means the first coffee contact is cleaner and more even.
Preheat, pre-wet filters, and bloom technique
Measure fresh coffee and pour about twice the weight of coffee in water for the bloom.
Wait roughly 30 seconds for this step. It releases CO2 and opens the grounds for better extraction.
Light, circular stirring during the bloom helps remove dry pockets and improves saturation.
Stirring, saturation, and brew time control
Keep the coffee bed evenly saturated with successive pours. Match the grind size to your brewing method and adjust pour speed to control contact time.
For a typical pour-over, aim for about 3.5 minutes total brew time.
Use a thermometer to hit 195–205°F for most methods to keep temperatures in the optimal range.
Common troubleshooting: sour, bitter, or thin brews and how to correct them
If a cup tastes sour or under-extracted, try a finer grind, slightly hotter water, or a longer brew time.
Bitter or over-extracted flavors call for a coarser grind, cooler water, or reduced contact time.
Thin or weak cups point to too little coffee or a grind that is too coarse; increase dose or tighten the grind.
When you encounter issues, keep one variable at a time. Record grind size, dose, water temp, and time.
Brew component coffees separately and mix liquids to preview ratios if you are blending. This methodical approach makes brewing troubleshooting faster and more precise.
Finish each attempt by tasting and noting what changed. Adjust grind, dose, or temperature in small steps and test again.
Over time, your hands will learn the rhythm that brings out the best in artisanal coffee blends.

Testing, Tasting, and Refining Your Unique Coffee Blends
You learn most by tasting.
Start with deliberate testing coffee blends in small batches to keep waste low and insights clear.
Begin each session by cupping single-origin components. Brew each at the same ratio and keep them warm in insulated vessels.
This makes it easier to compare acidity, body, and clarity side-by-side.
How to cup
- Grind fresh and use a consistent dose and water temperature.
- Smell dry grounds, then wet; slurp to assess flavors and mouthfeel.
- Record immediate impressions before blends change the picture.
Next, run quick-brewed mixes. Use brewed liquids at different ratios—start with 40:40:20 templates—so you can taste balance fast without grinding new beans for every trial.
Documenting tasting notes
- Log roast dates, grind setting, brew time, and exact ratios.
- Note descriptors like citrus, chocolate, caramel, or floral, plus acidity and body.
- Keep a simple score or stars to spot progress across trials.
Move from brewed tests to bean mixing when a ratio stands out. Blend roasted beans in the favored ratio and brew using your chosen method to validate the cup.
This step confirms the translation from liquid trials to real-world brewing.
Iterative testing works best with clear records. Use a scale and consistent measures so you can reproduce results.
Make many small-batch coffee blends rather than one large run.
Preserve consistency by storing successful recipes and the exact roast and grind details.
Freeze aliquots of roasted beans or seal them in valves bags with roast dates to reproduce the recipe later.
Repeat tasting cycles regularly to refine balance. Small tweaks—two grams more, a finer grind, a slightly longer brew—teach you what each variable does.
Keep documenting tasting notes so you build a reliable recipe library over time.

Conclusion
You now know how to make café-quality coffee at home. Start with fresh ingredients, the right tools, and the right technique.
Use a burr grinder, digital scale, and thermometer to get the best results.
Blending coffee is a skill that takes practice. Keep your blends simple to let each flavor shine.
Record your recipes and test small batches to find your perfect blend.
Keep track of your experiments and make adjustments as needed. With quality beans and the right tools, you can make coffee that you love.
Use this guide to improve your coffee-making skills over time.